

Tips for Achieving a Flawless Bow Tie Knot by Bowtie Menswear.
- mybowtiebusiness2018

- Oct 12, 2025
- 4 min read
Updated: Oct 14, 2025
Mastering the art of tying a bow tie knot can elevate your style and confidence for any formal occasion. Whether you're attending a wedding, gala, or a classy dinner, a well-tied bow tie adds a touch of sophistication. However, many find the process intimidating or confusing. This guide will walk you through practical tips and techniques to help you achieve a flawless bow tie knot every time.
Understanding the Bow Tie Knot Basics
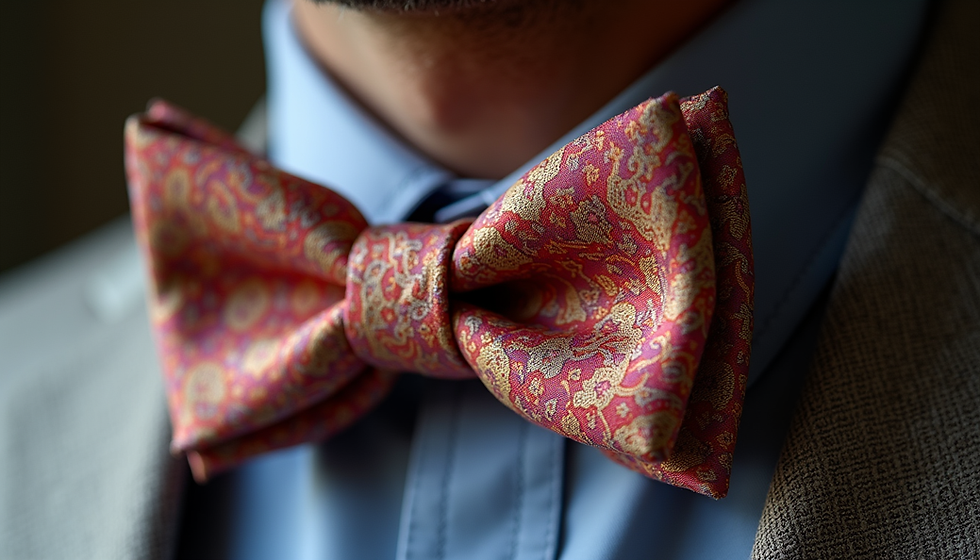
Before diving into tying techniques, it’s important to understand the structure of a bow tie knot. Unlike a regular necktie, a bow tie is symmetrical and requires precise folding and looping to create its iconic shape. The knot consists of two loops and two tails, which must be balanced and aligned.
Here are some key points to keep in mind:
Material matters: Silk bow ties are classic but can be slippery. Cotton or wool blends offer more grip.
Length and size: Ensure your bow tie fits your neck size and face shape. Standard sizes work for most, but adjustable ties are best for a custom fit.
Pre-tied vs. self-tie: Self-tie bow ties offer a more authentic look but require practice. Pre-tied options are convenient but less flexible in style.
Understanding these basics will prepare you for the tying process and help you avoid common mistakes.

How to Tie a Bow Tie Knot Perfectly
Tying a bow tie knot can seem complex, but breaking it down into simple steps makes it manageable. Follow this step-by-step guide to create a neat and elegant bow tie knot:
Start with the bow tie around your neck: Place the bow tie so one end is slightly longer than the other.
Cross the longer end over the shorter end: Form an X just below your chin.
Loop the longer end under the shorter end: Pull it tight to create a simple knot.
Fold the shorter end horizontally: This forms the front loop of the bow.
Drop the longer end over the front loop: This will be the center knot.
Fold the longer end back on itself: Create a loop behind the front loop.
Push the folded longer end through the loop behind the bow: This step forms the back loop.
Adjust and tighten: Pull the loops and tails gently to even out the bow.
Practice these steps slowly at first. With repetition, you will develop muscle memory and speed.
For a detailed visual guide, check out this perfect bow knot tutorial.

How to Tie a Bow So It's Straight?
One of the most common challenges is ensuring the bow tie sits straight and symmetrical. Here are some tips to help you achieve a perfectly aligned bow:
Use a mirror: Always tie your bow tie in front of a mirror to monitor symmetry.
Check the loops: Both loops should be equal in size and shape.
Adjust the tails: The tails should hang evenly on both sides.
Tighten gradually: Pull the loops and tails slowly to avoid skewing the knot.
Practice with different fabrics: Some materials hold shape better than others.
If your bow tie keeps tilting, loosen the knot and start again. It’s better to take your time than settle for a crooked bow.

Choosing the Right Bow Tie for Your Occasion
Selecting the appropriate bow tie style and fabric can enhance your overall look. Here are some considerations:
Formal events: Opt for classic black silk or satin bow ties.
Casual or creative settings: Experiment with patterns, colors, and textures like velvet or tweed.
Seasonal choices: Lighter fabrics for summer, heavier for winter.
Matching your outfit: Coordinate with your shirt, jacket, and accessories.
Remember, the bow tie should complement your outfit, not overpower it. A well-chosen bow tie paired with a flawless knot makes a strong style statement.
Maintaining Your Bow Tie for Longevity
To keep your bow tie looking sharp, proper care is essential:
Storage: Hang your bow ties or store them flat to avoid wrinkles.
Cleaning: Follow fabric-specific cleaning instructions. Dry clean silk ties.
Avoid over-tightening: This prevents fabric damage and maintains shape.
Regular inspection: Check for loose threads or stains before wearing.
Taking care of your bow ties ensures they remain a reliable accessory for years to come.
Final Thoughts on Perfecting Your Bow Tie Knot
Achieving a flawless bow tie knot is a skill that combines patience, practice, and attention to detail. By understanding the basics, following step-by-step instructions, and paying attention to alignment, you can confidently wear a bow tie that enhances your style. Remember, the key is practice and choosing the right bow tie for your occasion.
For those looking to master the art, this perfect bow knot guide is an excellent resource to keep handy. With time, tying a bow tie will become second nature, and you’ll enjoy the timeless elegance it brings to your wardrobe.


Comments